Growing Blog
How To Grow Reishi In A “Mini Greenhouse” – Backyard Reishi Cultivation
Believe it or not, it’s actually not that hard to grow your own medicinal mushrooms. Of course, it can be complicated- but I wanted to show you an easy way to grow your very own Reishi mushrooms using the “mini-greenhouse” method.
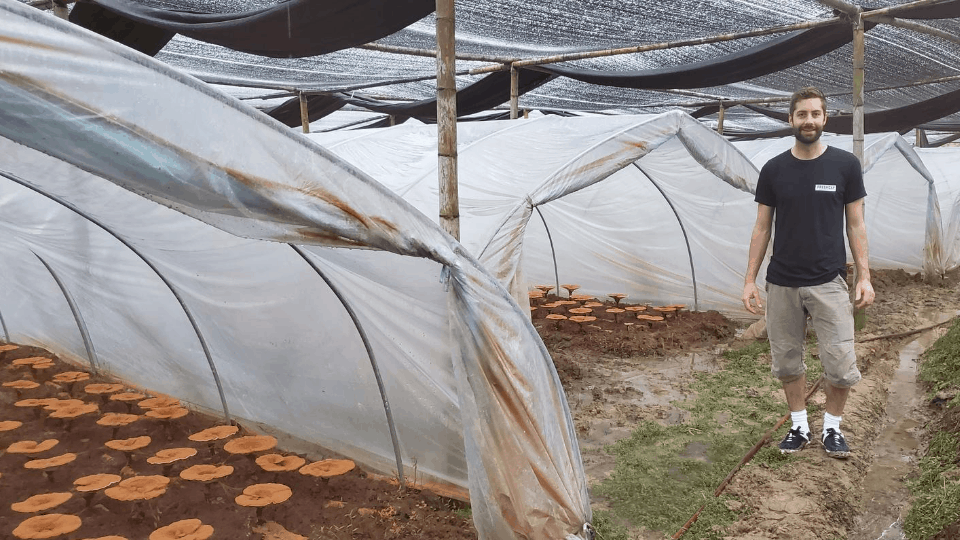
This method works so well because it mimics the traditional method the Reishi is grown at scale, where whole logs are inoculated with Reishi and placed inside large shaded greenhouses in warm humid climates.
For this mini greenhouse, the basic process involves taking fully colonized fruiting blocks, burying them in a thin layer of garden soil, and then installing a mini greenhouse over the blocks to help maintain humidity.
The greenhouse is then covered with shade cloth- thus making a perfect environment for the mushrooms to thrive.
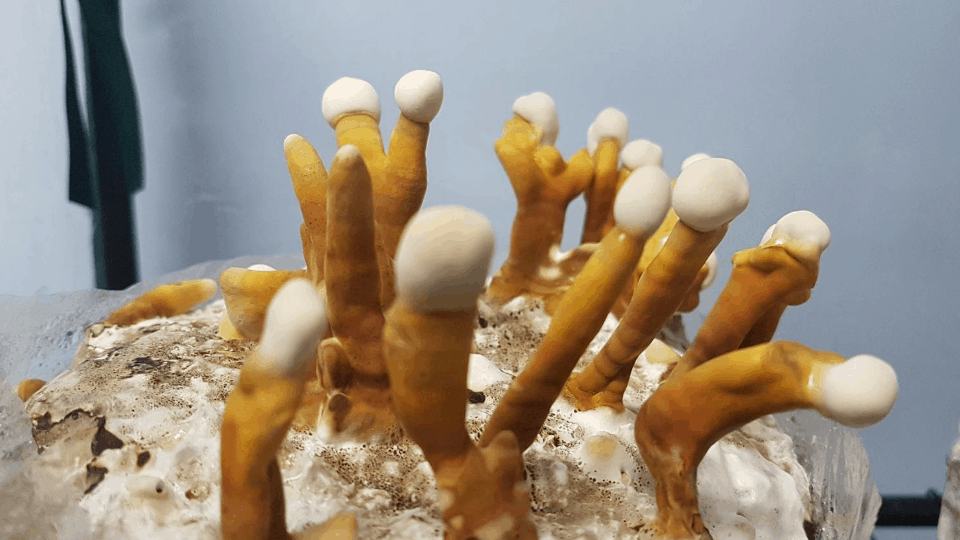
Tiny little antlers will eventually emerge from the blocks, and after a number of weeks, they will turn into beautiful little Reishi conks that can be harvested and enjoyed.
What Is Reishi?
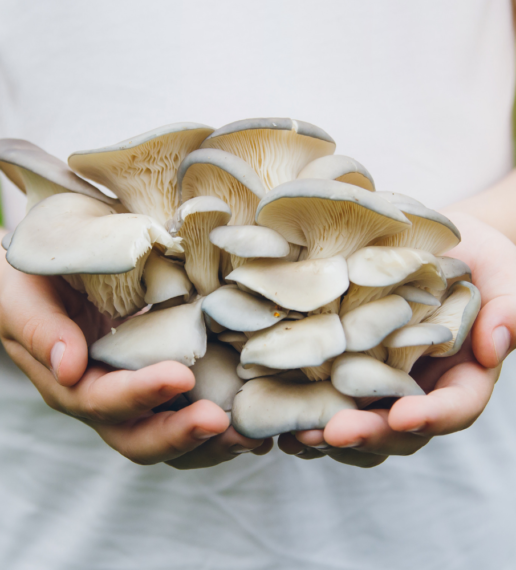
Reishi (aka Ganoderma lucidum) is a powerful medicinal mushroom that has lots of incredible benefits including immune support, allergy support and more.
It is extremely woody, and extremely bitter, so it doesn’t have a place in the kitchen as a gourmet mushroom.
Instead, Reishi is typically dried, cut into slices or powdered, and turned into teas or tinctures.
The scientific name for Reishi is Ganoderma lucidum, the word “Gano derma” meaning “shiney skin” and represents the bright red varnished look that makes this mushroom so beautiful.
It is a warm weather species and loves to grow in hot humid weather, which is why this method I am going to show you works so well.
The Natural Method Of Cultivation
Again, this method mimics the way that Reishi is grown for medicinal purposes at scale on large Reishi farms.
This is done by first inoculating real hardwood logs (typically oak) with Reishi mycelium, and burying the logs under a thin layer of dirt. The logs are eventually colonized by the Reishi mushroom and over a period of 9 months, the Reishi antlers form and turn into big beautiful conks. At these farms, they break off all but one of the antlers, so the mushroom can put all its energy into making just one fruiting body.
The Reishi is grown seasonally, and grows the best during the hot humid summers, so if you are going to do this method, it is best to do it around the spring or summer, or around the same time that you would be planting a garden anyways.
Step 1: Making The Blocks:
The first step to making the mini Reishi greenhouse grow was making Reishi mushroom fruiting blocks.
For this, I just used the standard fruiting block recipe of sterilized and hydrated hardwood sawdust and wheat bran, and then inoculated the blocks with Reishi grain spawn.
Reishi is incredibly fast and will fully colonize the block in about a week. After that, little fruiting bodies (otherwise known as antlers) will start to grow inside the bag.
Now, if you want to do this but you don’t have the equipment to make your own fruiting blocks, that is totally fine.
You can always buy a Reishi mushroom “kit” which is essentially a pre-made and fully colonized fruiting block. You can get these from various places online, just search “mushroom grow kits” and see if you can get Reishi.
I know one person who sells these kits, he goes by the name MycTyson (myc for mycelium… get it??) and he does mainly Lion’s Mane kits, but I have seen him sell Reishi mushroom kits.
Full disclosure, I have never tried his kits, but he has been in the community for a long time, lots of people use and LOVE his kits. Funny story- the culture that I used to grow the Reishi in this project I actually got from MycTyson in a trade on Reddit way back in 2015.
Step 2: “Planting” The Reishi
Once the Reishi is fully colonized, you can take it out of the grow bag and “plant it” in the soil.
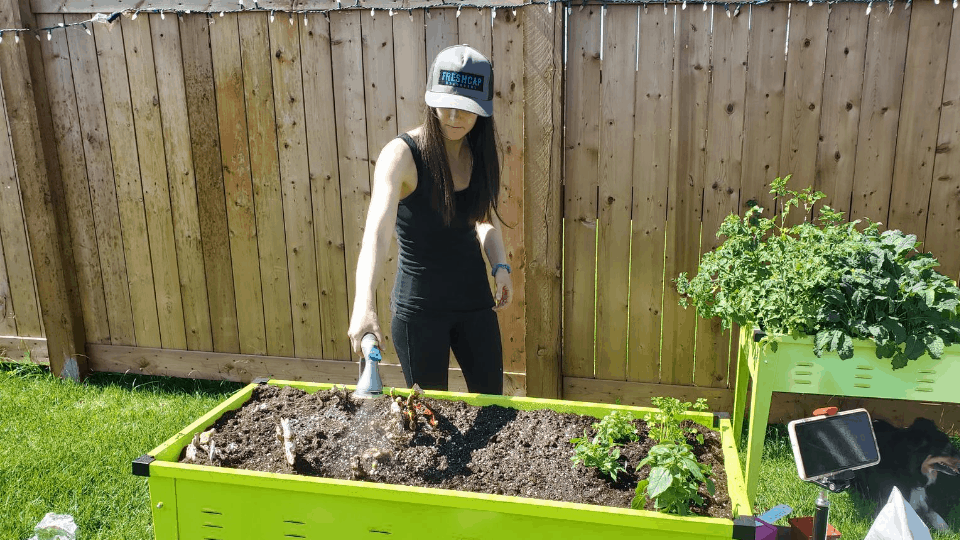
We actually planted this garden on an episode of FreshCap Friday live on Facebook, but the process was super simple.
Just take the block out of the bag and place it in the soil, covering the top with a thin layer. This soil was a mix of peat moss and regular garden soil, and it doesn’t really matter all that much what you use. You could even just dig a little hole and plant it in your garden, or in a planter.
Tegan actually planted some lettuce and other herbs on one side of the garden box.
The soil just helps to retain moisture, and is not actually required to grow the Reishi. All the nutrients the Reishi needs to grow nice big fruits are already contained in the hardwood sawdust block, although it is likely that the Reishi will also take some nutrients from the soil, so it would be an interesting experiment to see using different soil or soil amendments makes a difference in the quality of the fruits.
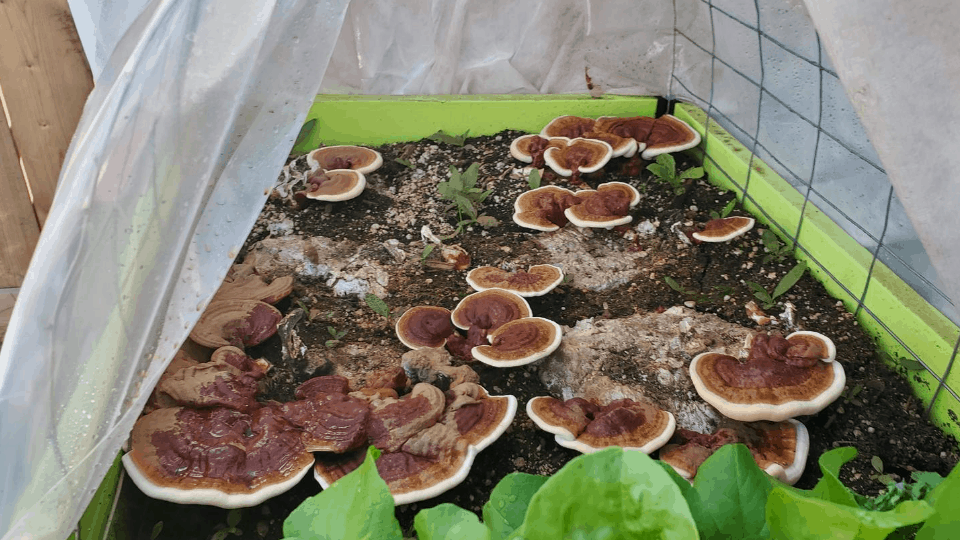
Once the Reishi is “planted” we gave it a good soak with the hose to make sure it had enough moisture to not pull any water out of the blocks. Also, you need to cover it with something that will both retain the moisture and stop the wind from drying out your fruits, but also help to retain heat without getting any direct sunlight.
If you just left it in the garden without the “greenhouse” the Reishi would might pin, but it would likely dry out from the wind or the sun and eventually stop growing.
To build the mini greenhouse, we just took a small piece of wire fencing and cut it just long enough so that it would form a nice greenhouse shape over the Reishi. We then covered the wire in a piece of clear plastic sheeting that was open at both ends. The whole thing was then covered in white shade cloth.
The shade cloth allowed for some light to get through while preventing direct sunlight from shining on mushrooms as they are growing. We then just tucked the shade cloth in and clamped it down so it didn’t blow away in the wind.
Step 3: Growing The Reishi
Once the Reishi is planted and the greenhouse is built, it is really just a waiting game. The only thing I did was every couple of days I would open up the greenhouse and spray it down with a spray bottle.
Again, moisture is so important for growing mushrooms, and the spray bottle just ensures that nothing is getting too dry. This is most important in the early stages of growth when the pins are starting to form.
After about a week, we started to see nice pins coming off the blocks. The pins that were already present when we planted the blocks mostly died off, but the new pins came in stronger than ever.
And then the mushrooms just kept growing and growing.
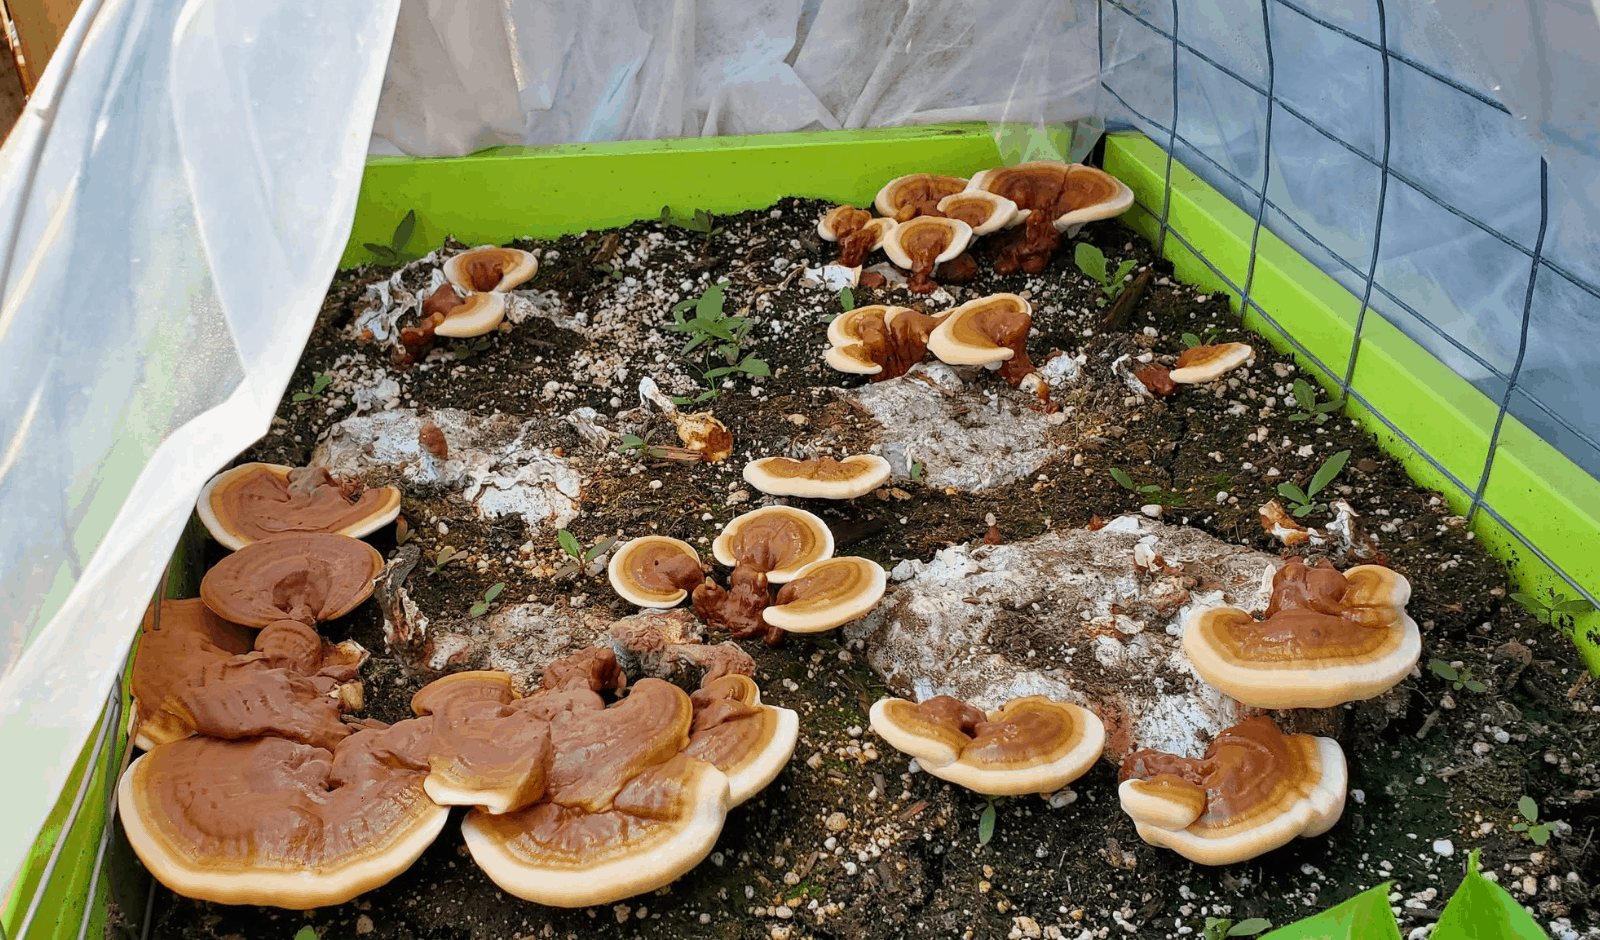
When Reishi mushrooms first appear, they do so with these “finger like projections” that almost look like candy corn. Eventually, those fingers will start to flatten out and form what are called conks- which are the shiny red fruiting bodies with the porous surface on the bottom.
Reishi fruiting bodies grow a lot slower than other types of mushrooms. Where some mushrooms like Oysters might double in size every day, and go from nothing to harvest in a week, Reishi really likes to take its time.
The progress is much longer, but still pretty satisfying to watch. You can tell Reishi is in its growth phase because it will have a white leading edge on the end of the conk. This is one way to tell that the mushrooms are continuing to grow.
Step 4: Harvesting and Drying
Overall, from planting until the mushrooms were ready for harvest took about 6 weeks.
To be honest, we probably could have let them grow a lot longer, but it felt like it was time to harvest.
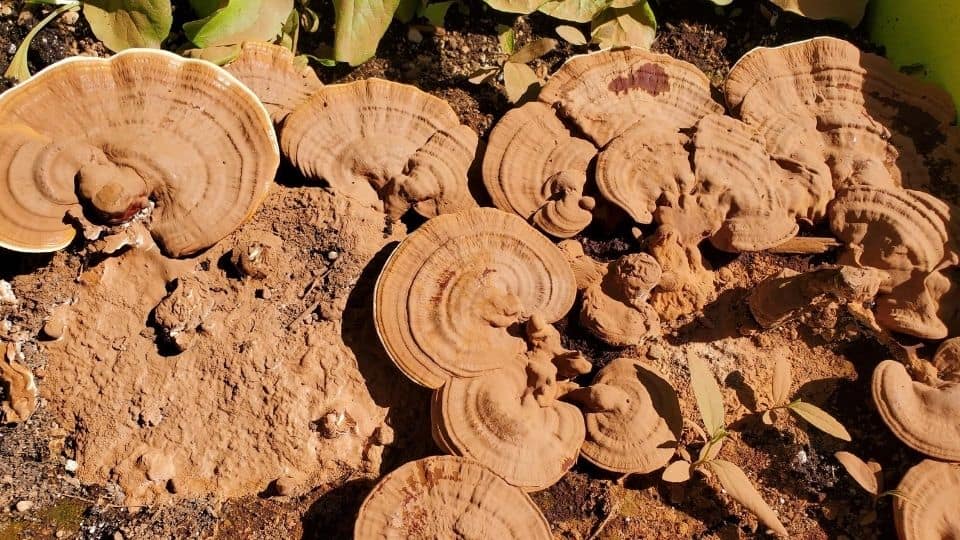
First of all, the Reishi had already started to drop all of its spores, which signals it is getting near the end of its life cycle. These spores appear as a brown dust that covers the inside of the greenhouse and settle on top of the fruiting body, turning it from a nice bright red color, to more of a dull brown color.
The other sign is that the bright white leading edge of the mushroom starts to get smaller and smaller.
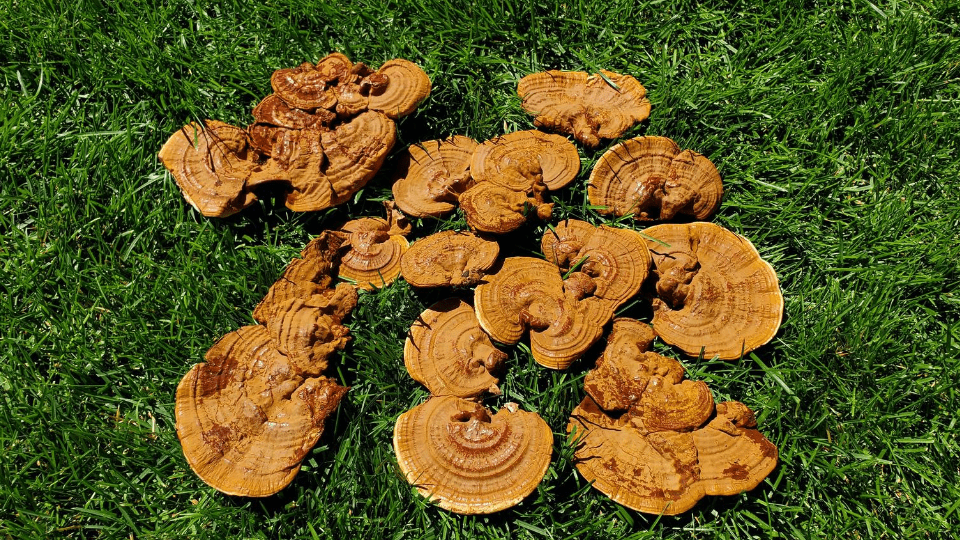
Harvesting the mushrooms is pretty easy. Reishi is really tough and woody, so the best way to harvest it is get a serrated blade (saw or steak knife) and saw off the fruits, trying to get as close to the block as possible.
Overall, we harvest about 650 grams of fresh Reishi mushroom from these blocks. Not an amazing yield by any means, but still a SUPER simple method that didn’t really require any special grow room equipment, and required very little attention and maintenance.
Reishi seems to be fairly resistant to bugs, probably because it is not as tender or fleshy as something like a king Oyster mushroom, which can be grown in the same way (burying the blocks) but needs to be harvested super early before the bugs get to them!
Once the mushrooms are harvested, they can be dried, cut into slices, and made into tinctures, teas, or powders. You could even just cut up a fresh fruiting body and simmer it for a number of hours to make a Reishi mushroom tea.
I have never really had much success getting a second flush from Reishi mushrooms, so after they are harvested once, they are best suited for the compost pile. You may get another flush from them, but like I said, it is a one and done for the most part, so not really worth the effort in my experience.

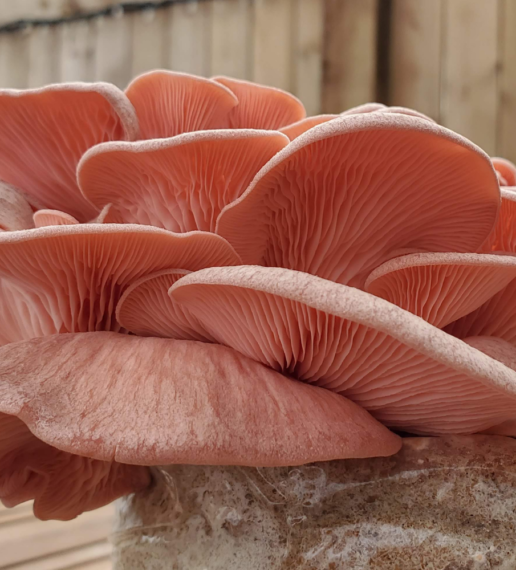
Growing Pink Oyster Mushrooms At Home (Easy Backyard Grow)
Pink Oysters mushrooms are one of the easiest species to grow. They are fast to colonize, produce a ton of fruits and aren’t at all afraid of less than perfect conditions. I just recently finished a fun backyard grow, and wanted to share how easy it is to produce a fresh bounty of one of
7 Tips for Beginner Mushroom Growers
New to growing mushrooms? If so, you may just be a little mystified – which is totally understandable. There is a ton of information to try and digest and make sense of. Terms like inoculation, agar transfers, laminar flow- what does all of this mean? And what of all this do I really need to know? I just want
Tony this is incredibly valuable information. How much light does your shade cloth block? For instance I am looking at either 50% blocking or 90% blocking options. Thanks 🙏